
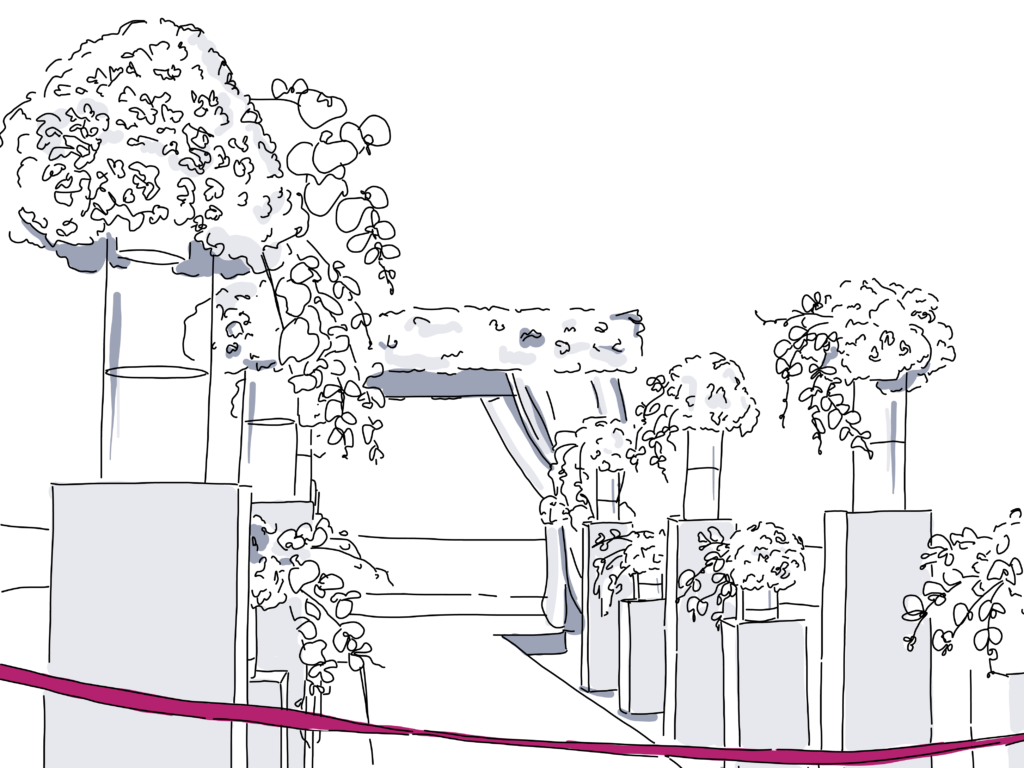
Wedding Tent Layout: 8 Tips You Need to Know
Whether you plan to host a ceremony or reception outdoors, creating the right wedding tent layout is key to helping everything run smoothly. Create the right atmosphere, sort out logistics, and maximize space by following the suggestions listed throughout this post. Then, learn more about how to create a wedding tent layout for your unique event and what our Event Diagramming solutions can do to make the process a whole lot easier. Plus, stick around to get the exact measurements you’ll need for your party size.
Before getting started, keep in mind that the following recommendations don’t take social distancing protocols into account. If you’re putting together a wedding during which social distancing protocols are in place, be sure to follow all necessary guidelines in order to put on a safe wedding.
Follow these steps to create the best wedding tent layout:
1. Select a tent shape.
Choose between square, rectangular, circular, or oval tents. We suggest ordering the same shape tent if you need more than one for the same purpose such as a dining area or dance space. Or, order a variety of shapes if you need tents for different areas of the wedding venue to serve as dividers. For example, you can put a food table in one area, seated dining in a second, and a tabletop or social activity in a third.
If you’re tight on space or need to be economical with your seating plan, go with square since it’s easier to maximize ground space for guests both inside and outside the tent.
2. Get started putting together the wedding tent layout.
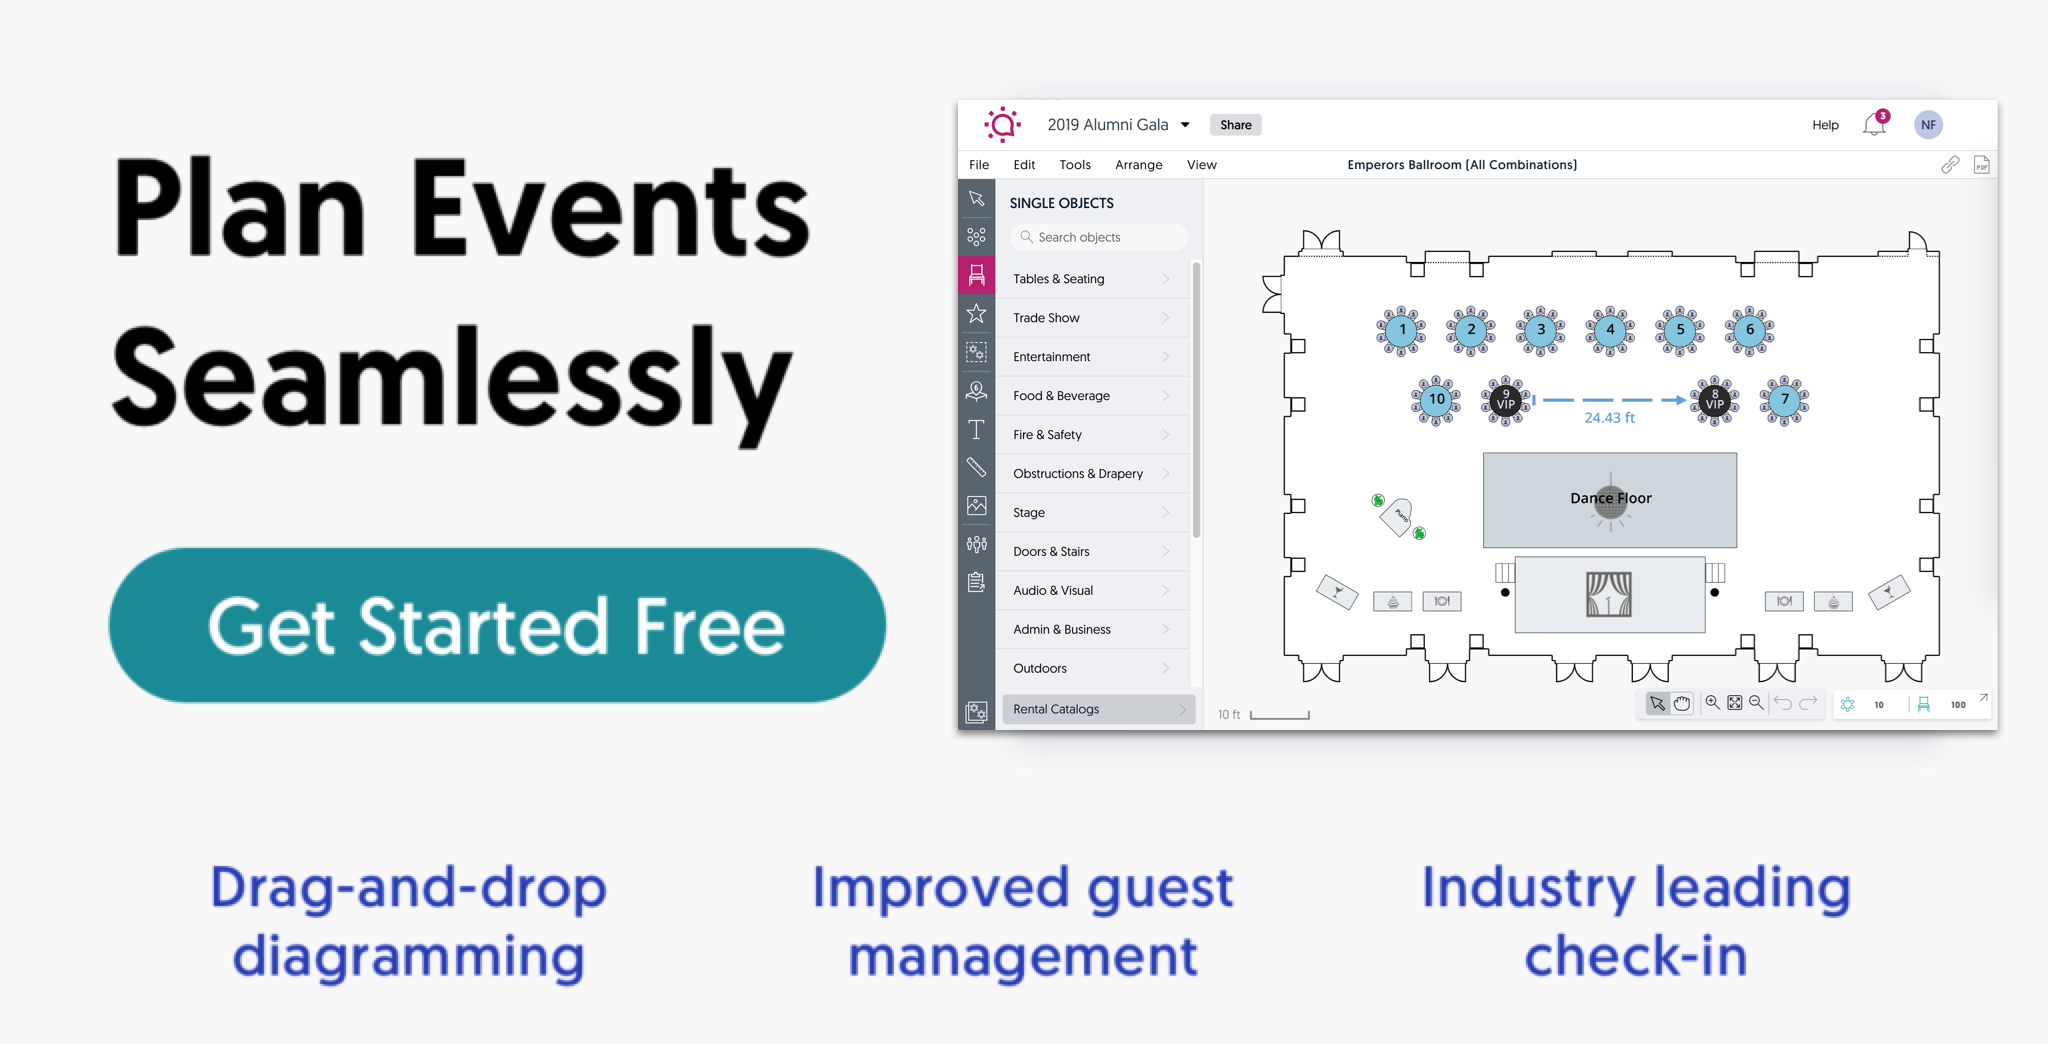
Use our Event Diagramming solutions and get started! First, add custom dimensions for tables, dance floors, banquet tables, DJ booths, bars, and decor. Then, mark all electrical outlet access points, possible cable locations, bathrooms, and emergency exits. Next, create more than one version of the floor plan and compare them side by side before finalizing the design. Here are a few ideas for each tent shape to help spark inspiration:
Wedding tent layout options for square tents:
- Dance floor center: Put a round or square dance floor in the center of the tent. Host the bar outside the tent or angled in a corner away from other activities.
- No dance floor: Line the edges with circle-shaped tables but leave the middle open
- Socializing only: Trade sit-down tables for high tops and stools. Fill the space or leave a walkway going down the middle for more accessibility.
Wedding tent layout options for rectangular tents:
- Dance floor front: Place a square dance floor in the middle of your tent and move it to the top of your floor plan. Put your buffet tables on one edge of the tent and your bar or gift table on the other.
- Dance floor center: Place the DJ booth above the dance floor and the bar or refreshments below it. Use round tables on both of the remaining two sides.
- Thrust dance floor: Put in a rectangular dance floor that begins on one side of the tent and ends in the middle. Mix and match square and circular tables on either side. Place a small rectangular table opposite the dance floor.
Wedding tent layout options for circular tents:
- Dance floor center: Place a round dance floor in the middle with four rectangular tables evenly spaced outside of it, pointing towards the edge like sunbeams.
- Half and half: Create a pathway going down the center of the tent. Place a half-moon shaped dance floor on one side and tables on the other.
- Cabaret: Place your stage on one side of the circle. Put high-top tables around it in a semi-circle and regular tables on the outside of those.
Wedding tent layout options for oval tents:
- Thrust dance floor: Place a stage and a dance floor stacked above one another on the flat side of the oval and stage tables around the perimeter.
- Banquet seating: Place one long table for everyone to eat dinner. Put your stage or dance floor at the very end of the tent.
- Dance floor center: Place a circle-shaped dance floor in the middle and add two or three rows of rectangular tables on either side.
3. Try a template.
We also offer templates that will help streamline the layout planning process. We recommend choosing staggered, aligned or U-shape for your wedding tent layout. Use staggered if you want to encourage mingling between tables, aligned if you want to create an audience-like feel for any special dances or performances, and the U-shape for smaller wedding parties or micro weddings to encourage everyone to eat together and dance in the middle afterward.
4. Factor in spacing and capacity.
Give round or banquet tables 60 to 80 inches of space between each other. Add in at least 52 to 66 inches between chair backs that face each other as well as square or rectangular tables. And, if square tables have corners facing each other, aim for 24 or more inches.
If you’re creating a layout for a venue you work with often, be sure to save your setup so you can use it again for a future wedding or event. Also, don’t forget to enter max capacities. If you go over the limit, our event diagramming tools will flag it so you know right away and can adjust as needed.
5. Create a seating chart.
Want streamlined day-of instructions, smoother logistics, and better wedding guest experiences? Create a wedding seating chart so everyone knows where to go when they arrive at the reception. Using Event Diagramming, you can upload your guest list, track RSVPs, and add detailed notes to each guest file such as dietary restrictions or mobility accommodations.
Then drag, drop, and place each guest. If you have room for more plus-ones or want to change the layout now that you have updated RSVPs, adding or subtracting guests is just as simple. After, share your guest list and seating chart with your catering team. Servers can flag important meal requests, venue attendants can assist disabled guests to their seats, and chefs can stay updated on important details such as food allergies.
6. Choose the best lighting.
Lighting is an incredibly important aspect of events, especially weddings. When it comes to incorporating lighting into your wedding tent layout, some of our favorite ideas include:
- Include weatherproof, outdoor string bulb lights around the perimeter of the tent.
- Crisscross at least six strands inside the roof of the tent to give the space a nice glow at night.
- Wrap the lights around poles if it’s safe to do so.
- Add a statement pendant light to the center or above the sweetheart table to draw the eye.
- You can even add a disco ball to the top if the tent has support beams near the ceiling.
7. Add all necessary areas and items.
Consider including each of the following to your wedding tent layout:
- DJ booth
- Music cart or technology stand for charging and cables
- Speakers with stands
- Band area
- Wet and/or dry bar
- Waiter station for easy access
- Photograph table
- Wedding favor table to easy grab-and-go gifts
- Gift table
- Cake stand or dedicated table
- Heaters/air conditioning
- Trash cans for guests and staff
Remember to figure out where outlets are and how cables will run around or near some of the space. Avoid putting them near high-traffic areas. Also, consider placing any activities that involve more talking (ordering drinks at the bar, sharing memories at the album table) away from the speakers and music so people can hear each other better.
8. Mark tent pole locations.
Note the number of poles and the space in between each of them. Make sure not to place chairs in front of them, otherwise people won’t have enough room to get to or from their seat. Designate which tent poles will be the exit and/or entrance areas. Create a floor plan that directs flow by incorporating walkways that lead to obvious entrance and exit locations.
How big should a wedding tent be?
The tent for your wedding should be big enough to hold:
- Guests
- Tables
- Chairs
- Dance floor
- DJ booth
- Speakers
- Tech station for music and microphones
- Bar
- Band
- Stage
- Waiter stations
And don’t forget the space you’ll need for walkways in between each furniture piece. Use the guest list size to measure how many tables and chairs you will have then use the remaining space for the entertainment and food and beverage stations.
In general, the tent size you need for…
- 100 guests is 1,600 ft.
- 150 guests is 2,300 ft.
- 200 guests is 2,800 ft.
If your party is larger than 200 guests, or includes additional entertainment and logistical areas, keep in mind that every additional 10 guests needs at least another 100 feet of space.
Put these wedding tent layout tips to use today!
Whether you want to try new wedding layout ideas or need a backup plan for your outdoor venue, a well-thought out plan made with a visual tool is the best way to do it right on the first try. In addition to logistics such as tent size, occupancy and seating, factor in what kind of ambiance you want to build. Explore visual representations of your layout using our diagramming tools to make sure your plans match your vision and build an unforgettable outdoor wedding.
Get started with Social Tables!
Free Event Management Software for Planners and Properties

See Data Privacy Info
By clicking 'Sign Up', you consent to allow Social Tables to store and process the personal information submitted above to provide you the content requested. Refer to our Privacy Policy or contact us at privacy@cvent.com for more details.